Chocolate Sourdough

Sourdough doesn’t have to be a savory experience, just sweeten things up with a little bit of chocolate.
Personally, as a sourdough baker, I often find myself stuck in a rut when it comes to choosing inclusions or flavors for my sourdough. There’s only so many times you can make the same Artisanal Sourdough before your taste buds start to crave something new. That’s why experimentation is necessary! It never hurts to play with flavors you already know and love, incorporating them into your bakes. That’s how I ended up creating a deliciously sweet and sultry chocolate sourdough. Being a lifelong chocoholic, it only seemed natural to incorporate chocolate into my sourdough.
My chocolate sourdough is flavored with plenty of Dutch-Process Cocoa and studded with chunks of semi-sweet chocolate. The results couldn’t be better, and this sweet little bread could rival any fudge brownie.
Chocolate Sourdough
100g active starter
320g warm water
¼ tsp active dry yeast
50 g dutch-process cocoa powder
450 g bread flour
100 g semi-sweet chocolate, chopped
11g fine sea salt
20 grams strong black coffee
In a large bowl, weigh out your active starter, 320 grams of warm water and active dry yeast. Mix together with your hands breaking up the starter with your fingertips, mix until yeast and starter are fully incorporated in the water.
Next add the flour and cocoa powder. With your hands, mix in the dry ingredients until no more of the dry ingredients remain, the dough will be very shaggy. Cover with a tea towel and let the dough rest for 40 minutes.
After the resting period is over, make a dimple in the middle of the dough with your index finger. Fill the dimple with your sea salt and pour your strong coffee on top of the salt. With your fingertips, you’re going to pinch the salt into the dough until it is all incorporated. After your salt is added, add the chopped semi-sweet chocolate and lightly knead. Gently fold dough over on itself to create a rough ball. Cover and let rest for 30 minutes.
After 30 minutes, take the dough and gently fold it over itself. I do this by picking up the dough on one end while letting the other end fall. You will do this one more time to shape the dough into a rough ball or oblong shape. This motion will gently strengthen the gluten without knocking out all the air bubbles that your yeast are creating. After the dough is folded it shouldn’t be flat but a little ball. It takes some practice to get this motion right.You want the weight of the dough and gravity to do all the work.
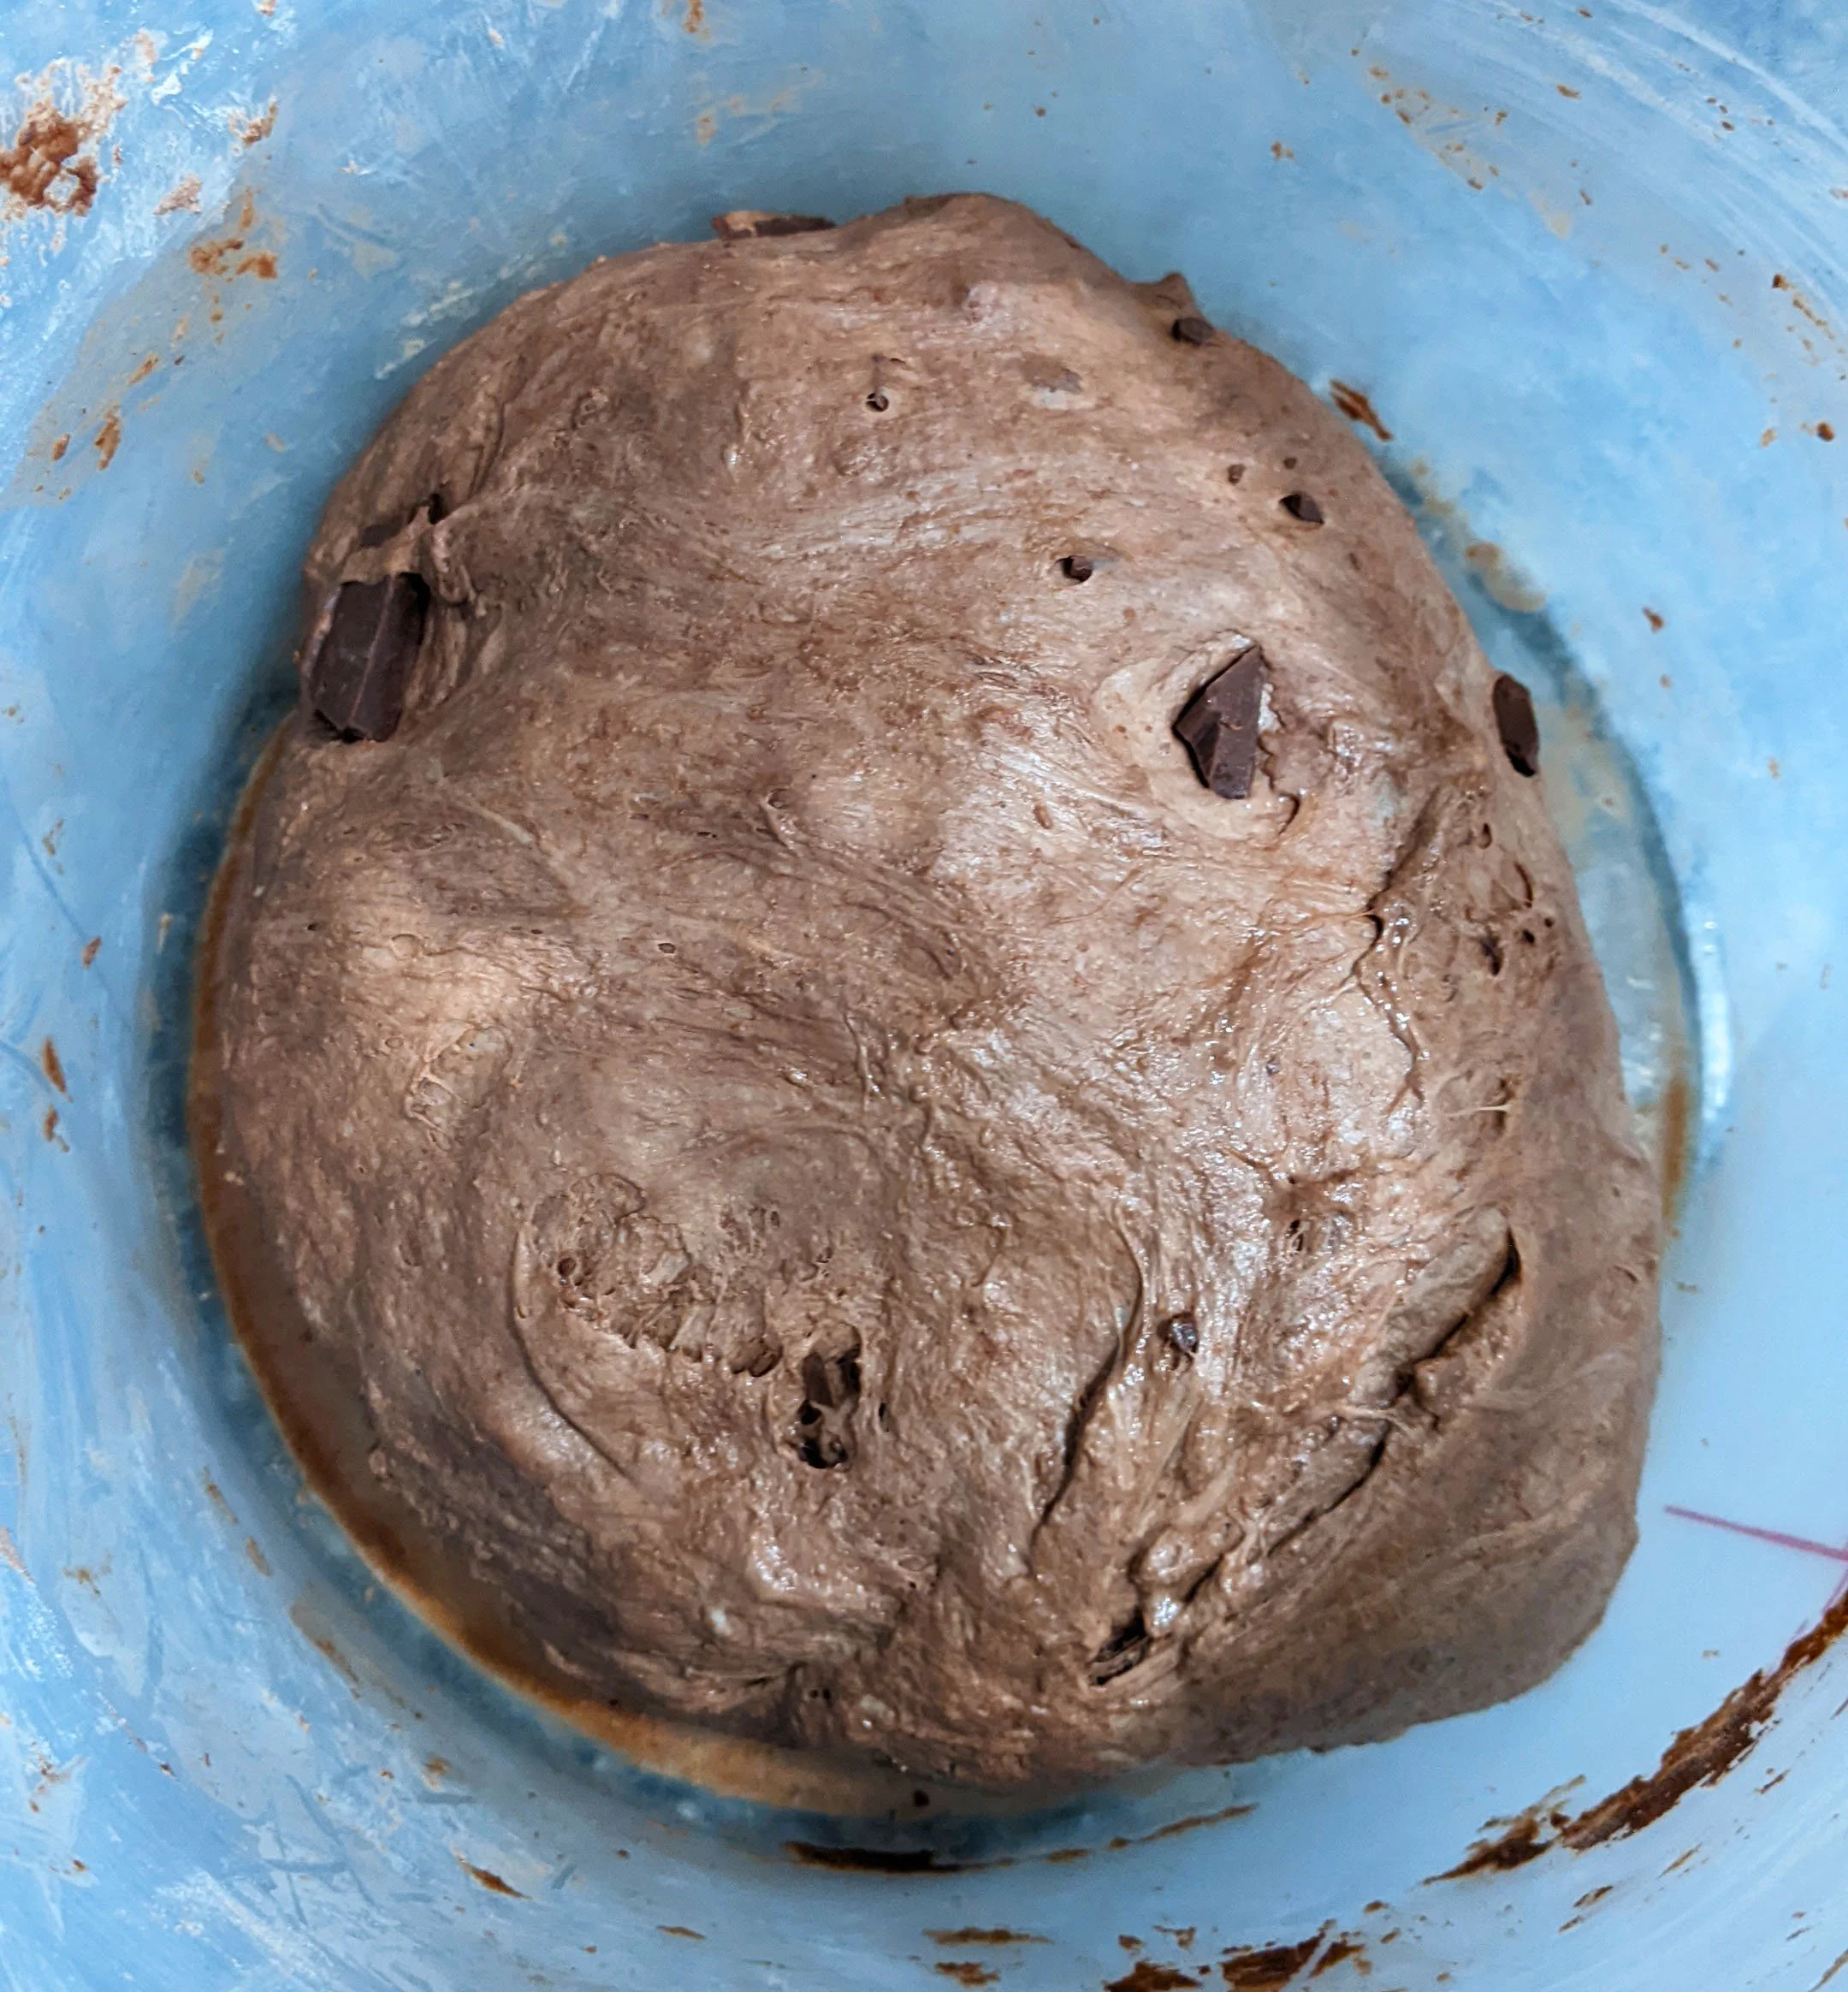
Cover and let rest for another 30 minutes before continuing to stretch and fold again. You will repeat this process of resting and stretching the dough three more times. You want to do this five times total. I will keep track of how many times I stretch and fold so I don’t forget. You can easily forget how many times you’ve worked the dough, especially when you’re doing other things.
At the end of the stretching and folding you will notice that the dough will become more elastic and the chocolate should be evenly distributed throughout the dough.
Once you have a beautifully developed dough it’s time to shape it. Dump the dough out of the bowl onto a very lightly floured counter and gently pat the dough flat to knock out some of the air bubbles. Next pull the top sides of the dough to roughly shape a T. Starting at one side of the dough, take the dough and pull the side into the middle. Continue until you have worked your way around the entire thing, all sides should be in the middle. Take the short side of your dough and fold it inward by rolling it up tightly to form a log. Tuck the ends of the log underneath. Then cup both hands on the long side and slide the dough on your work surface until the dough becomes taut and the surface is smooth. This seals the seam of the loaf.
Prepare a basket or a banneton by lining the inside of the basket with a clean kitchen towel or if you have a banneton it should come with a linen liner. Thoroughly flour the towel so it won’t end up sticking to the dough. Now with some confidence and a bench scraper, if you have one, you are going to scoop up your loaf and place it in your floured basket with the seam side up on top.
Cover the dough with a towel and leave to proof on the counter for 2 hours.
Preheat your oven to 450°F and place a clean baking sheet on the bottom rack of the oven.
Place a piece of parchment on the counter approximately the same size of the loaf but with a little bit extra to allow for overhang. With a quick and swift motion, dump the dough onto the middle of the parchment, just like if you were building a sandcastle with a bucket. Score your dough with a sharp razor blade or a very sharp knife. Scoring is a very important step in the sourdough baking process. It allows for the dough to expand properly by having a spot for the steam to escape from the bread.
After you have scored your loaf, lift up the parchment and place it all into your Dutch oven. Firmly put the lid on the Dutch oven and bake your bread for 25 minutes. Putting the lid on the Dutch oven at this stage is to ensure that the bread gets steamed and bakes properly.

When 25 minutes have passed, carefully remove the lid from the Dutch oven .There will be lots of steam trapped in the Dutch oven so please be very careful when removing the lid. Your loaf should be doubled in size and beautifully baked. However, you will need to bake your loaf for an additional 10-15 minutes to develop the crust. Bake until the crust is golden brown.
Once your bread is baked, shut off the oven and leave the door to the oven cracked open for 30 minutes.
After your bread has sat in the cooling oven for half an hour, you can remove the loaf from the oven and place it on a wire rack to cool completely, enjoy!